


A Pertronix Ignition Is A Quick, Inexpensive, Efficient Upgrade
On the surface, it almost seems too good to be true: a proven ignition upgrade that’s inexpensive, totally concealable and easy to install. And once installed, no regular maintenance is required.
Meet the Pertronix Ignitor.
A little black box replaces the traditional ignition points with a solid-state electronic setup. Installation takes only a few minutes, and for those of you who despise visible modifications, the Ignitor is totally contained underneath the stock distributor cap.
Retail cost: depending on the application, often less than $150. How much would you pay to avoid the frustration caused by burned-out, worn-out ignition points? We thought so. And don’t be afraid that this is something new and untested—more than 3 million units have been built over the last 30-plus years.
More food for thought: Most so-called carburetor problems can in fact be traced to an ignition issue. Before chasing your tail—and spending big money on new parts—why not start by lining up the basics.
The Pertronix Ignitor uses cobalt magnets to trigger a Hall Effect integrated circuit, meaning there’s no moving parts to burn up or wear out. The epoxy molding also seals out dirt and moisture—two common enemies of traditional points ignitions—while removing any chance that the ignitor will fall out of adjustment. Short answer: It’s so easy, even a caveman can do it.
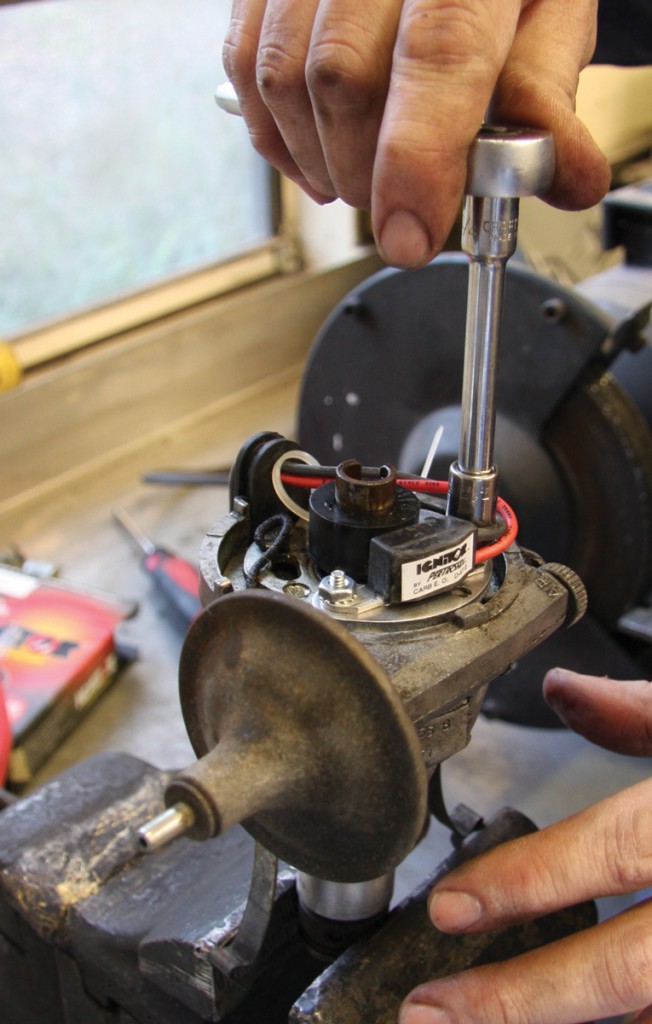
Installing A Pertronix Ignitor in 3 Easy Steps
You don’t need a degree in electrical engineering to install a Pertronix Ignitor; the job should be well within the comfort zone of any home mechanic. Pertronix Ignitors are available for a wide range of Lucas distributors, so you’ll need to know your model number before ordering.
Step 1: Remove Points
With the distributor either on or off the engine, simply remove the original points. If you’re worried about a future failure, carry the old points somewhere in the car.
Step 2: Install Pertronix Ignitor
Pertronix offers many different Ignitor models, each using a bolt-in installation. Two simple wire connections are required. Re-attach the distributor cap and wires as usual. Check the timing.
Step 3: Go Drive
Once everything is buttoned up, simply go for a drive—this time without worrying about points. Now might also be a good time to perform a comprehensive tune-up too.


'Pertronix Ignition—a Modern Solution' have 2 comments
May 15, 2013 @ 7:35 pm L:arry
Just installed a Petronix (Neg GND) on a 64 MGB and a FlameThrower coil. The coil is getting hot. Is this normal? The owner said he had converted this car to Neg GND and has a capacitor connected to the voltage regulator???. Getting good spark, but concerned with the coil getting so HOT. Thanks for your help.
May 21, 2013 @ 9:59 pm Ed Hargrove
Larry,
No, it’s not normal, and indicates a resistance problem in your coil, probably caused by using a ballast resistor incorrectly. The Pertronix instructions diagram the possible setups (with and without ballast resistor, stock or Flamethrower coil), and if in doubt Pertronix technical assistance can help. Their phone # is in the instructions.
I’d recommend fixing the heat problem before driving the car beyond walking distance, as your coil won’t last long under those conditions.
Good luck,
Ed