


My 1978 Spitfire 1500 trip odometer reset knob is oddly located below, and to the right of the steering column. Being below the dash board, it is nearly invisible to the driver.

A reset knob below the tach where you can see it. Now that makes sense!
In fact it was several months after I brought the car home that I actually discovered that it had a trip odometer (trip-o-meter) reset knob. I’ve always questioned “Why this odd location and can the knob be moved to a more suitable location?” I now believe I can correctly answer both of these perplexing questions.
While redoing my dash I discovered that there is a partially bored hole centered below the tachometer that is the correct diameter for the 3/8” trip-o-meter knob. This photo of the back of the dash panel shows the hole.

Here’s where the factory tacked it on.
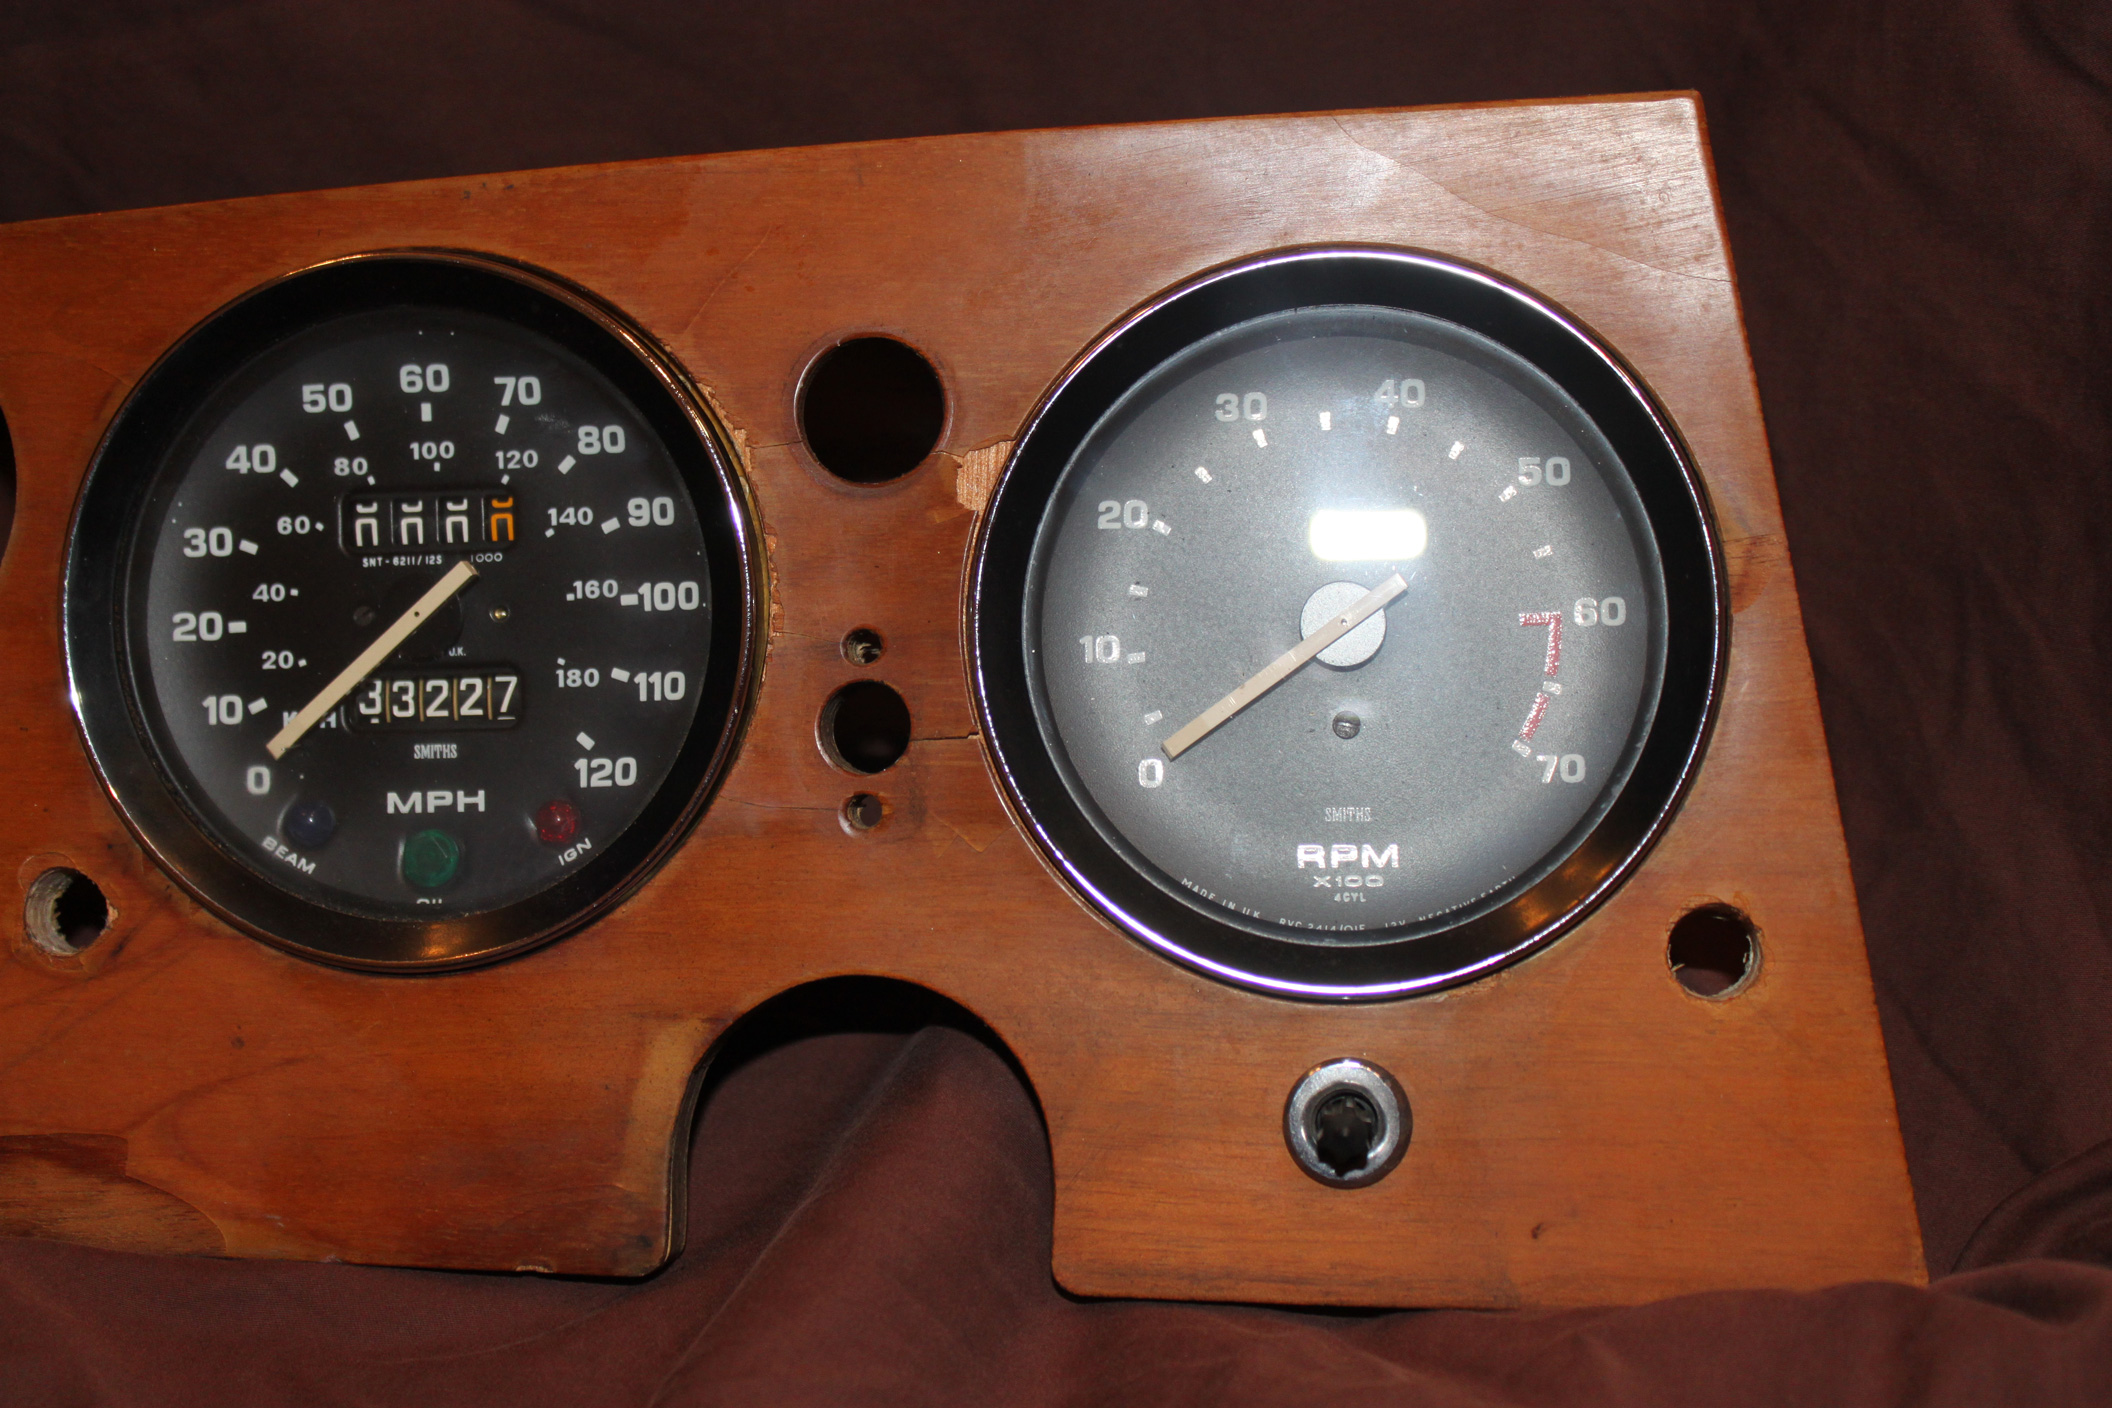
Why wasn’t this hole used for the trip-o-meter reset?(Ignore the holes to the lower left and lower right of the speedometer & tachometer as these are my new separate left and right turn signal indicators. I’ll cover these in a separate article.)
Further investigation found that the original trip-o-meter reset knob design does not have enough depth to reach through the dash with adequate threads to engage the knurled attachment knob. Therefore I suspect as a “last minute” fix it was placed in the odd position below the dash on a thin bracket.
I decided to move my trip-o-meter reset knob to a more convenient and accessible spot. The position centered below the tachometer is an ideal location but how to easily mount the knob below the tachometer securely?
A trip to Lowes specialty fasteners bin found the solution in a 3/8” long stainless steel Tee Nut (UPC 008236779059). This 5/16” diameter nut is threaded with course 18 threads per inch which do not fit the 3/8” diameter fine 24 threads per inch trip-o-meter reset knob. To customize the Tee Nut drill it out (carefully) to a 3/8”x24 tap diameter using a 21/64” drill bit. To hold the Tee Nut in the vice I ground 2 flat spots on the flange knowing I was later going to reduce the diameter.
Next, very carefully tap the thinned down nut to 3/8”x24 thread. To make sure the tap is going straight down the hole you can start cutting the threads by putting the tap bit in the drill press and manually getting the threads started.
When 3/8 – 24 threads are tapped the thin walled Tee Nut will telegraph the threads to the exterior. Don’t worry about the weakened Tee Nut, it only needs to hold the Trip-O-Meter reset knob’s plastic threads.
If desired, the Tee Nut face diameter can be reduced by carefully using a grinding wheel. I reduced the diameter and also put a bevel on the edge to reduce the profile on the dash. I found that a diameter of about 0.7” (45/64”) looks good when it is installed on the dash.
The finished part is shown here after polishing. I mounted the trip-o-meter reset knob, using the finished part, into my old dash after boring out the partially drilled hole below the tachometer and it looks like a factory installation.
By Kurt Hollenbeck

Trip-O-Meter reset knob vs. dash depth.

Back side of the dash. Notice the pre-drilled area below the tachometer.

Drill out the Tee Nut to 21/64ths inches.

Start tap threads 90° using drill press.

Trimming the diameter to 7/10th inch.

Polished, finished knob mount.
Kurt is a relatively new member of the Red River Triumph Club and is working with HR Classic Cars in Wylie updating his Spitfire to also add individual cylinder fuel injection and a 5 speed Borg Warner T-5 transmission into his 1978 Spitfir.


'Moving a Spitfire Odometer Reset Knob' has 1 comment
May 28, 2013 @ 9:08 am Mark
Hi Kurt. Great how to on moving the trip odometer reset knob. The un-used hole you speak is for the Carburettor’s choke.