Midget Seat Fix
Rose Whittle, Alberta, Canada
Just thought that you might be interested in the technical tip that my husband discovered last year before our trip to California for the 1991 GOF.
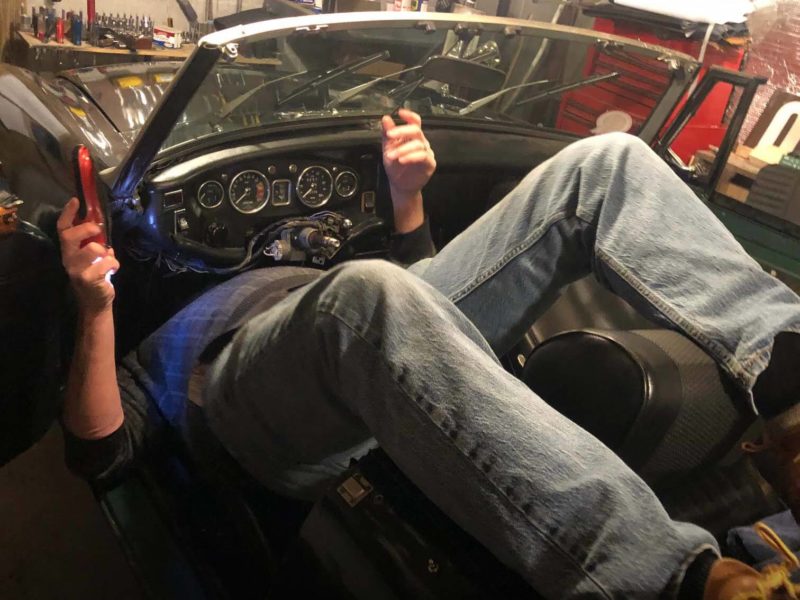
We were trying to (ind seat diaphragms to make the seats in my 1972 Midget more comfortable and give me a little more height. We Inquired with Moss and were told that they are not made for Midgets: the only part available would be the webbing that was on the car at the time.
My husband was a little annoyed with this, as he is extremely satisfied with the comfort of the seats in his 1974 MGB GT that have diaphragms. He looked at both sets of seats and decided to try the diaphragms from his seats on mine. After a lot of grunting, he managed to succeed. Not only do they lit. but they have done exactly what we hoped they would.
So, if you have people wanting seat diaphragms for Midgets, they can use the ones for MGBs as they do fit! Just remember to warm the diaphragms with a hair dryer to make them a little more stretchable, and to get the hooks into the actual frame, use a piece of string with a loop in the end. Hold the diaphragm with the hook pointing toward you until it is over the hold in the frame, and presto!
Brake Cylinder “C” Clip Installation Made Easy
Robert Mason, Fairliope, AL
A question was recently asked about an easier way to install the large “C” clip that retains the rear wheel brake hydraulic cylinder of the MGB, and other cars, in place. The comment was made that the individual needs another pair of hands (or more!), and that all he had done was bend the clip so much that it really was not usable. The answer to the question is a big YES – there is a relatively simple and easy way of installing this clip, and once done, the next question will be “why didn’t I think of that before?”.
With the wheel and brake drum off,you will see that the axle flange sits almost directly above the hole through which the slotted “neck” of the wheel cylinder is installed. Clamp a large vice grip wrench to the bottom of the axle flange with the head of the wrench pushing against the wheel cylinder (as shown below left), and you will now have your own two hands free to install the “C”clip.
The concave side of the clip is positioned against the inner side of the brake shoe backing plate. Insert one flanged end of the clip into the slot of the wheel cylinder, followed by the middle flange. Use a flat screwdriver and hammer to ensure that these first two flanges enter Into the circular slot of the wheel cylinder.
The screwdriver is then used to lift/pry the third flange of the clip up and over the neck of the wheel cylinder to snap it into the circular slot. Check that all three flanged areas of the clip are fully within the circular slot, and voila. you have completed the job with no damage to the “C” clip itself, and almost faster than it takes to read this how-to-do-it.


'Tech Tips: Winter 1992' has no comments
Be the first to comment this post!