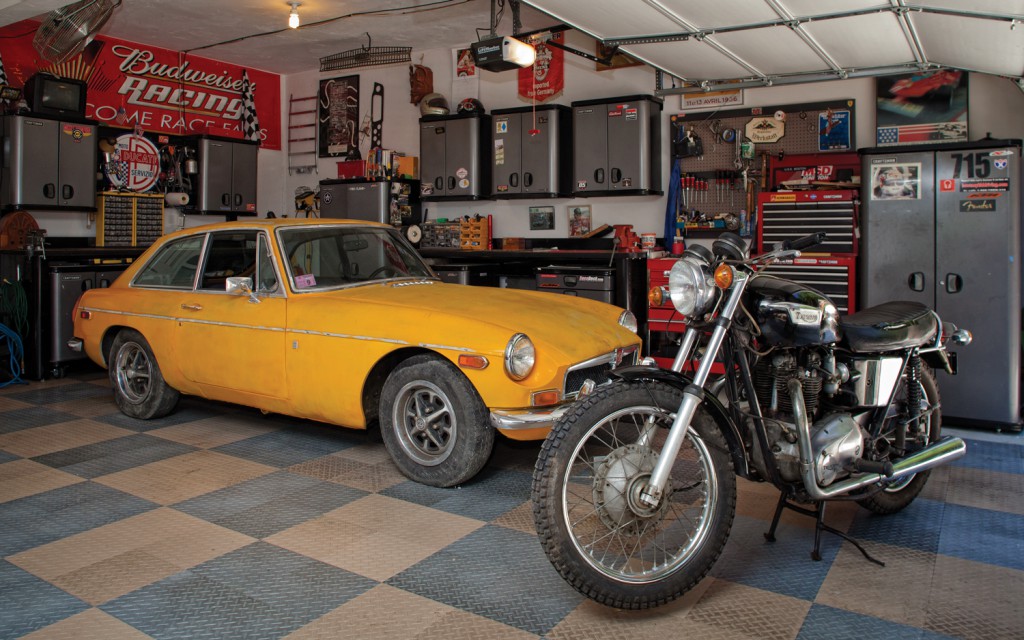
Free weekend coming up? Why not spend it with that special someone: your favorite British car. Make a date to fix some niggling problems, perform an upgrade, or make things shine to the max.
Wondering where to start? Here are four projects that always seem to be on the to-do list.
1. Give the Paint Some Shine
Time: Budget a few hours
Car looking a bit dull? Why not treat it to a fresh coat of wax? It’s a great way to bond with your car, and you can make a lot of progress in just a few hours.
Step 1: After washing the car, use a clay bar to remove any large contaminants from the paint. Some quick detail spray will help the clay bar slide over the car’s surface.
Step 2: Grab your random orbital buffer and apply your favorite compound, polish or paint cleaner to a foam compound pad. Use a slow buffer speed to work the compound into the paint, and follow the car’s lines while doing so. Just do a section at a time, say 2×2 feet. When finished with a section, remove the compound with a microfiber towel.
Step 3: If you want the deepest shine possible, follow the compound with a swirl remover—it’s basically a really fine paint polish.
Step 4: Now it’s finally time to wax. Use a clean foam pad mounted on a random orbital buffer to apply the wax, and if you have the patience, let the wax set up overnight. Remove it by hand with a microfiber towel and buff to a shine.
Step 5: If you’re after a top-shelf finish, first remove anything that can get in the way, like the grilles, bumpers and luggage racks.
2. Replace Outdated Ignition Points With a Pertronix Ignitor
Budget: Figure less than $150
Time: Less than an hour
We have come a long way since ignition points were standard operating procedure. Thanks to the Pertronix Ignitor, the same technology used by today’s auto manufacturers can be applied to our older classics. Out go the points, in goes the Pertronix Ignitor.
Step 1: With the distributor either on or off the engine, simply remove the original points. If you’re worried about a future failure, carry the old points somewhere in the car.
Step 2: Moss offers several applications of the Pertronix Ignitor, designed to offer a bolt-in installation. Two simple wire connections are all that’s required. Reattach the distributor cap and wires as usual.
Step 3: Once everything is buttoned up, simply go for a drive—this time without worrying about points. Now might also be a good time to perform a comprehensive tune-up, too.
3. Freshen Your Brakes
Budget: A couple hundred dollars
Time: Budget a few hours
We love discussing ways to make our cars accelerate faster, but what about giving the brakes some similar attention? Brake talk might not set a social gathering on fire, but properly operating brakes are vital to our motoring safety.
Step 1: Let’s start with the master cylinder, the heart of the system. How old is yours? More than a few decades? Did you know that a new one can be bought from Moss Motors for less than $200 and completely remove a potential hazard from the system?
Step 2: While the system is apart, why not replace the original, rubber brake lines with some braided stainless steel lines? They’ll firm up the pedal and last for a long time. Most applications cost right around a hundred dollars.
Step 3: Did you know that Moss also offers brand-new front brake calipers for many of our favorites? The prices are very reasonable, too, starting at about $100 per unit.
Step 4: While you’re freshening the brakes, this is a good time to replace the pads and rotors. Classic Gold ceramic pads offer quiet operation and low fade. They don’t dust much, either.
Step 5: And while you’re doing the front brakes, do the rears, too. There are wheel cylinders and shoes to replace. Inspect the rear seals for damage and leaking fluid while you’re in there.
Step 6: Finally, time to refill and bleed the hydraulics with a premium brake fluid. Moss offers Castrol LMA, a premium DOT 4-approved fluid.
4. See Where You’re Going
Budget: Figure a couple hundred dollars
Time: Again, budget a few hours
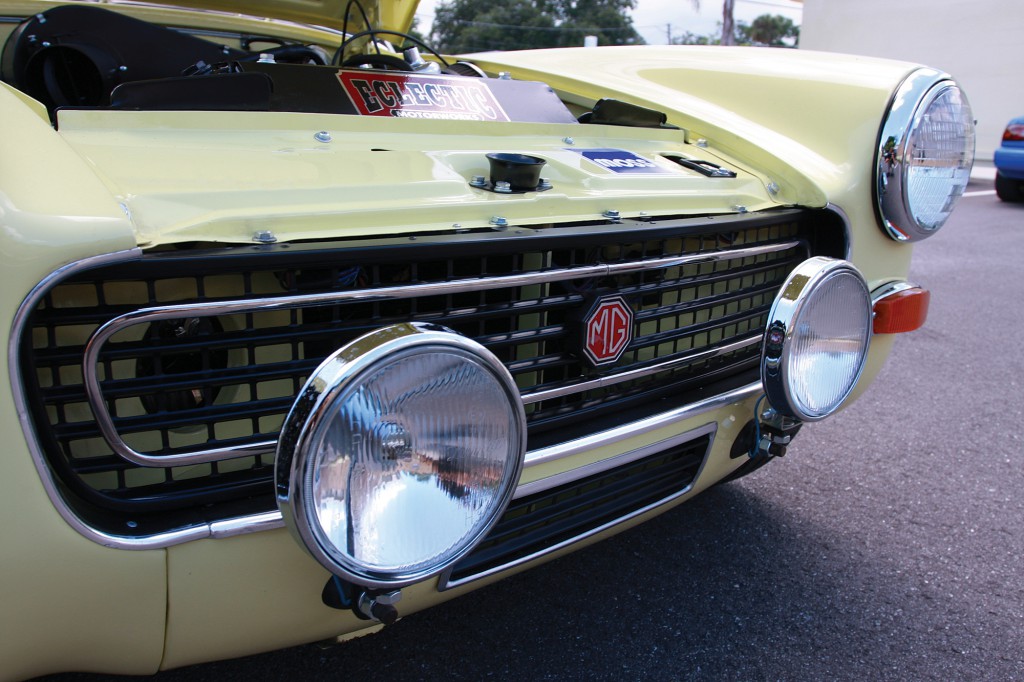
Now that your car is beautiful and stops quickly, you’ll want to make sure to preserve those looks and performance by not running into anything. A proper set of modern headlamps will light the way to a better tomorrow.
Step 1: First, let’s toss those old, outdated sealed beam headlights for a set of 7-inch round lights that use a replaceable H4-spec halogen bulb. The new lights offer better optics plus the ability to run hotter bulbs. Budget about $100 for a pair of British-built Wipac headlights.
Step 2: Need more light? Add a set of quality driving lamps. Start this upgrade by bolting the lamps to your front bumper.
Step 3: You’ll need to add a switch, too, unless you have an OE switch that you can use.
Step 4: A relay is used to direct the electricity from the battery to the lamps. A Headlight Relay Kit is available from Moss. (Part #117-515.)
By David S. Wallens
[nggallery id=2]


'4 Fun, Fast Projects' has no comments
Be the first to comment this post!