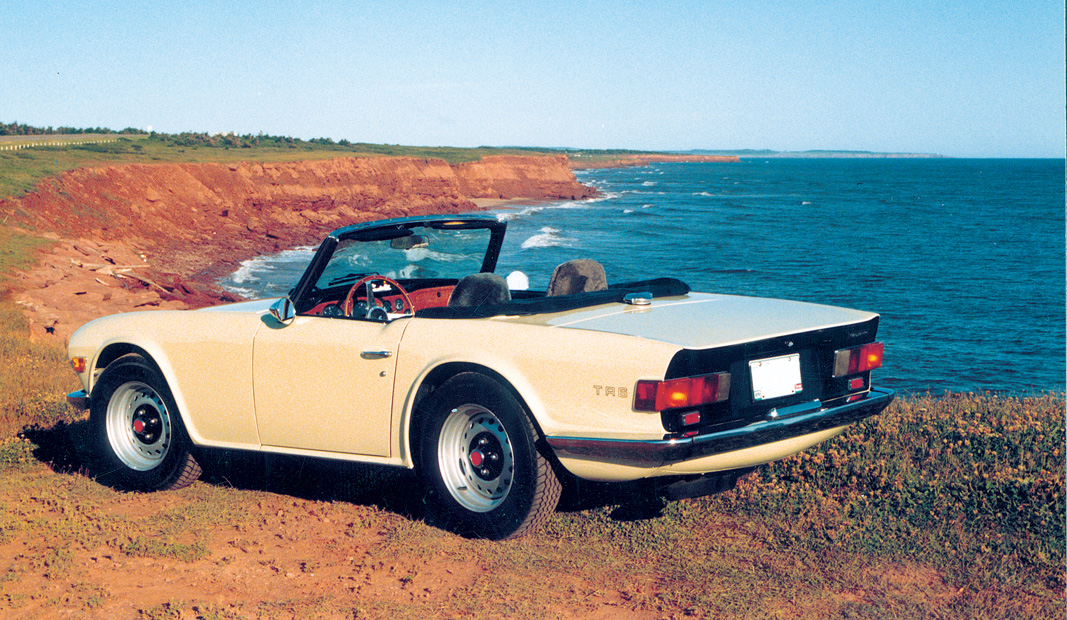
If you have ever seen an old TR6 rolling down the road you might just view a toed-in, rearward lurching sports car with its weight shifting wildly between gear changes. As an added benefit, its one of the few roadsters featuring enough oomph to produce rear wheel torque steer, something usually reserved for front hookers.
 In my pursuit of enhanced handling I have added Moss Motors sport springs and a tube shock conversion kit which have greatly aided in controlling body movement (the lurching) and have helped keep the rear wheels firmly on the ground, producing enhanced traction and handling. In concert with 16” Panasports and 215 section Pirelli P6 tires there has been a major upgrade in performance. And yet I wanted more, I wanted to eliminate or at least minimize the torque steer effect that I was experiencing during spirited acceleration and began looking through the Moss TR6 catalog and across the internet for potential solutions.
Fortunately the “restomod” movement has delivered solutions to these lingering problems. I found a whole host of upgrade products to help me in my quest.
I started my project by tearing down the back end of my 6, removing the rear wheels and drums. While rolling the half shafts back and forth and noticed that the u-joints were clunking. Recalling that it had been at least five years since I replaced u-joints I added them to my repair list. Removing the six nyloc nuts securing the half shaft flanges to the right trailing arm two of the stud mounting holes turned out stripped.
You can guess what happened next-they made the list. From there the surprise parade came to a halt, as I removed the trailing arms from their brackets and unbolted the brackets from the frame I was pleasantly surprised to find the mounting points and related hardware in good shape. With a generous amount of Simple Green and some Griot’s Garage undercarriage spray I removed the built-up gunk and sludge revealing a clean work area.
Next I turned my attention to the trailing arms-I will admit that I’m a sucker for shiny aluminum bits; nearly anything metallic with a wrinkle finish gets my attention so I lavished some extra love upon these magnificent castings. After a liberal application of Simple Green and garden hose to remove the standing dirt I was lucky enough to get a visit from my across the street neighbor, Steve who happens to be a motorcycle nut. He uttered the magic words, “Why don’t you borrow my powerwasher and make those really shine.” I’m lucky to have a neighbor who understands me.
So after getting the powerwasher 101 from Steve I find myself on a high pressure rampage shooting a stream of water into the intricate aluminum nooks with a glee that would make riot police blush. 20 minutes later I’ve got a gleaming pair of trailing arms ready for the next step. I packed up the right arm and took it over to Walt at Britalia in Fullerton, CA about the stripped stud holes. Since repairing aluminum can be tricky and I didn’t want to join the JB Weld nation I decided that Walt’s powerful combination of patience and experience was just what I needed.
Walt uses a threaded insert called E-Z-Lok . He drills out the stripped hole just enough to tap a new thread and then screws it in place. Since the E-Z-Lok is coated with a loctite-like compound it becomes one with the surrounding metal and it ready to accept a new stud. Walt made the fix look easy.
With my ailing trailing arm repaired its time to begin the healing process. With the arms still off the car I began by smearing the special bushing lubricant provided with the upgraded Prothane trailing arm bushings and inserting them and their metal sleeves into the trailing arms. Comparing the “no name” bushing with the Prothane piece and it’s very clear that the upgraded bushings and the Goodparts brackets should have a major impact on minimizing torque steer.
My half-shafts took a field trip to OC Driveline in Placentia, CA where Ray the proprietor rapidly swapped out the old u-joints with fresh Spicers’ and pumped the zerks full of grease.
The Goodparts adjustable brackets are beautifully constructed and finished, smartly designed and are supplied with top quality hardware and very clear directions-my compliments to Richard Good.
The adjustable brackets attach to the frame like the old ones using the shims that adjust the caster with each bracket offering an adjuster to precisely set the camber for maximum handling. The enclosed directions are very clear and include all of the torque values for the hardware involved.
With the trailing arms and adjustable bracketry in place the next task is reconnecting the inner drive shaft flanges to the differential with fresh nylocs followed by the outer half of the shaft through the trailing arm. Don’t forget a liberal application of grease on the driveshaft splines to avoid binding through their range of motion.
I replaced the Moss Heavy Duty rear springs with the newer Moss Heavy Duty Lowering Spring, the difference should be subtle – you can see a slightly smaller gauge of wire in the spring on the right versus the HD spring on the left. I will report back on the ride height and quality after a few hundred miles of use.
Before I bolted everything back together I got my hands on a pair of our super swank finned aluminum brake drums. As I mentioned earlier, I love me some cast aluminum and these drums not only look 1000% percent better than the cast iron drums and they dissipate heat better and weigh three and a half pounds less removing seven pounds of unsprung weight from my rear axle!
Putting it all back together the brackets are set per the Goodparts directions to emulate the previous setting. I feel confident that the back end of my TR will be in top shape. I will share a driving report and alignment info in the next issue.
By Rob Mullner


'TR6 Rear End Re-Do: Set Up for Better Handling' has 1 comment
April 16, 2018 @ 11:30 am Alan
Very interesting article. I recently purchased a 75 TR6 that came with an obvious positive camber and I’m interested in adjusting this. Thanks for the tip on the Goodparts brackets.
I was wondering why you went with the lighter springs. I’m no expert, but it seems that the lighter springs would enhance the issue you are trying to get eliminate?