


I am a retired engineer tech of a major telecommunications company, but my hobby and passion is sportscar racing and restoration. I have been both an official and crewed at Sports Car Club of America (SCCA) and International Motor Sports Association (IMSA) events, including the 24 of Daytona, Sebring 12 hours, Road Atlanta, and SCCA national runoffs.
In the spring of 2010, I found an MG-TF in Connecticut (chassis number HDC46877). It was all in pieces; someone had literally tore it completely apart, the frame of the car had been chemical bead blasted, and then stored for 40+ years. So, it was not by choice that I had to modify the car. Since the body and frame pieces are what I purchased, I had to come up with a power plant, suspension, etc. Many of my friends own Goldwing bikes and trikes, which peaked my interest in the 6 cylinder, shaft drive, power plants as a suitable engine for my sportscar. My thoughts then turned to a light weight, reliable engine with a lot of torque, and naturally I came up with the GL 1500. It had everything I envisioned: plenty of performance, shaft drive, and it was reliable. I cut out the MG’s engine mount and reattached it to the engine. This allowed me to adapt the GL engine mount to the frame of the MG-TF.

MG-TF Frame

Trike Engine
I “refreshed” the engine by rebuilding the carb’s, adding new seals , and conducting various tests spelled out in the reprint of the original shop manual, such as oil pressure,cylinder pressure, etc. I also purchased a reprint of the original electric wiring diagram which allowed me to label everything on the harness. Honda made instillation very simplistic as all of the wires are color coded and easy to follow. I knew what had to go on the firewall.

Engine on homemade engine stand

wiring harnesses
The next step was attaching the Goldwing instrument panel to the MG-TF dash board, followed by using mahogany wood to surround the instrument panel to make it look as if it belonged there. As you can see I had the dash board carbon fibered with c8 corvette carbon fiber parts, though I got a little carried away and made a mahogany eyebrow.


Fast forward to 2014, the drive shaft system and engine are in the frame complete with performance suspension on the car. I used a 1980 MGB-GT rear end, total front suspension, got rid of the girling shocks, and installed strange coil over performance shocks on all corners. This allowed me to literally “dial in” the suspension performance I wanted. The goal was to have a street performance system without it driving like a tank.


The steering shaft had to be dealt with to clear the motor. Triumph sportscars (TR4, TR6) had the same problem, and a triumph steering shaft did the trick. The parts were interchangeable because, as most british sportscar enthusiasts know, all early british sports cars parts came out of the same foundry in England.

Next, we adapted the shifter and reverse lever to the cockpit. I used a Summit Racing Pro-Stock automatic shifter that had a 3/8” sealed cable. We took the shifter apart, and used a dremel to cut out the locks so it would move back and forth easily. However, there was not enough spring tension on the engine shifting lever to make the shifter come back to center. So, I went and got a spring used on hammer drills for concrete. I modified and installed the spring in the shifter housing, so the shifter would come back to center after an up or down shift. The reverse lever installed nicely behind the shifter, but ended up having to send the reverse cables to a company in California to get them reproduced and extended to the exact length I needed.

The pedal assembly had to be adapted from the MGB-GT to my firewall. To do this, I had a company that specializes in hydraulic hoses manufacture the custom hydraulic hose I needed to go from the MGB-GT reservoir to the Goldwing clutch. Now, its starting to look like something.

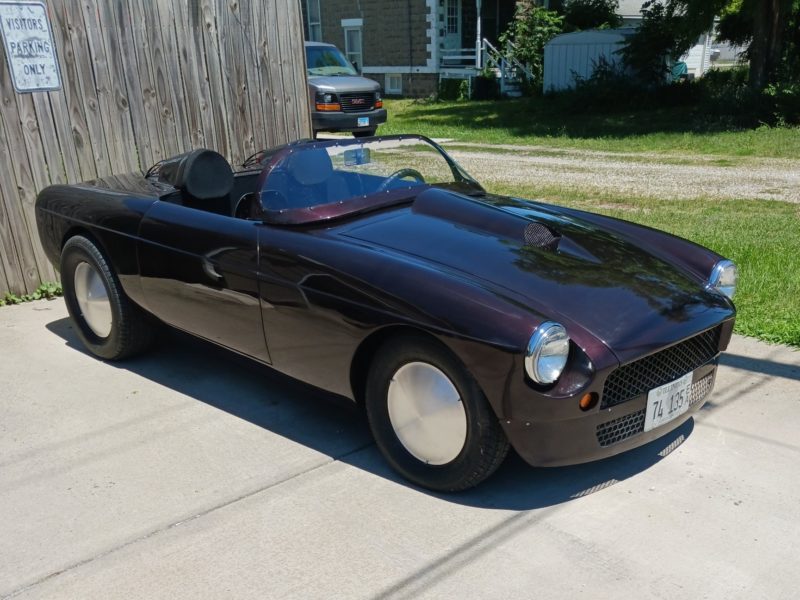
Next was adding the fenders and fitting of the doors. After that, it was time to get ready for the paint shop.


Paint shop prep
The only giveaway of whats under the hood, would be if you were to hear it running- the flowmaster muffler did that trick. Along with good back pressure to set and balance the twin carbs. For the finishing touches, I also took a piece of aluminum bar, engraved TF in it, and placed it over the GL to throw people off even more. I also used a TD seat as this made room for someone over 6’ to be comfortable in cockpit. I moved the rear quarter panel back 6 inches, the front MGB GT pedals forward 4 inches, and you can adjust the rear back, as needed.

Addition of engraved aluminum bar
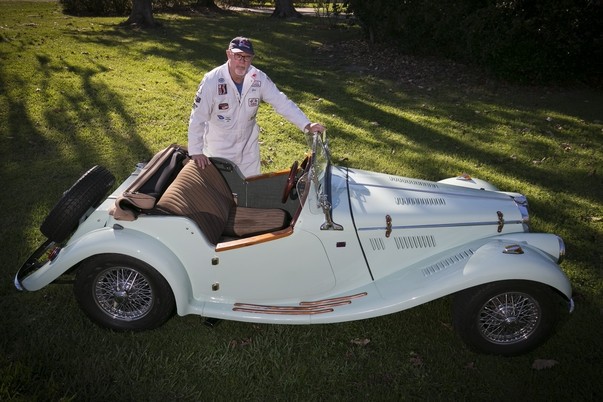
After adding vents to the top of hood to allow heat to get out and getting extensive with mahogany- did the eyebrow,fender runners, and arm rest in mahogany- we have the finished product! I wish to point out I had a lot of help with the engineering of this car, especially Ric Cline of Ric’s TC’s in Monticello, Georgia. It took six years to build, but my o’ my , it’s the ride and performance that make it!

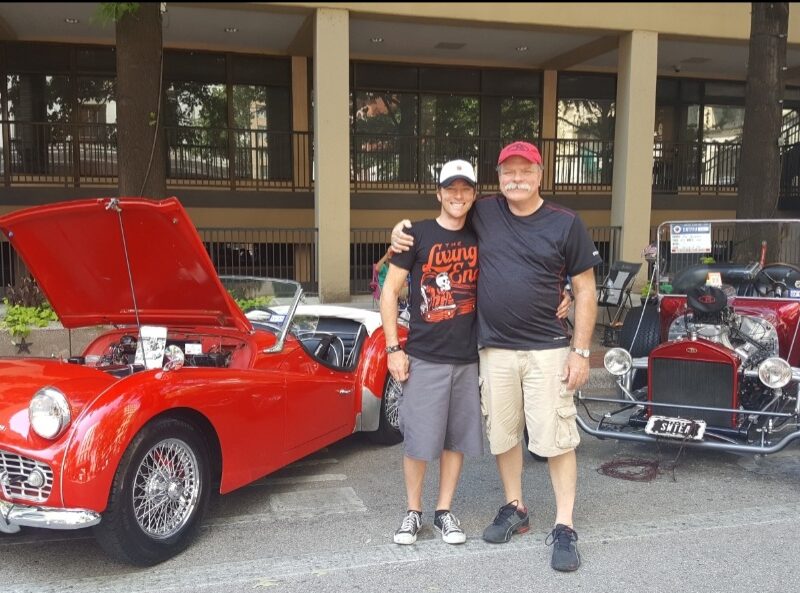
MG British car show

MG British car show

Showing: Goldwing fuse box, heat shunt, and carb control box mounted on firewall


By Joseph Smith
Ocala, Florida

'A Breath of New Life: an MG-TF Modification' has no comments
Be the first to comment this post!