By Ned Serleth
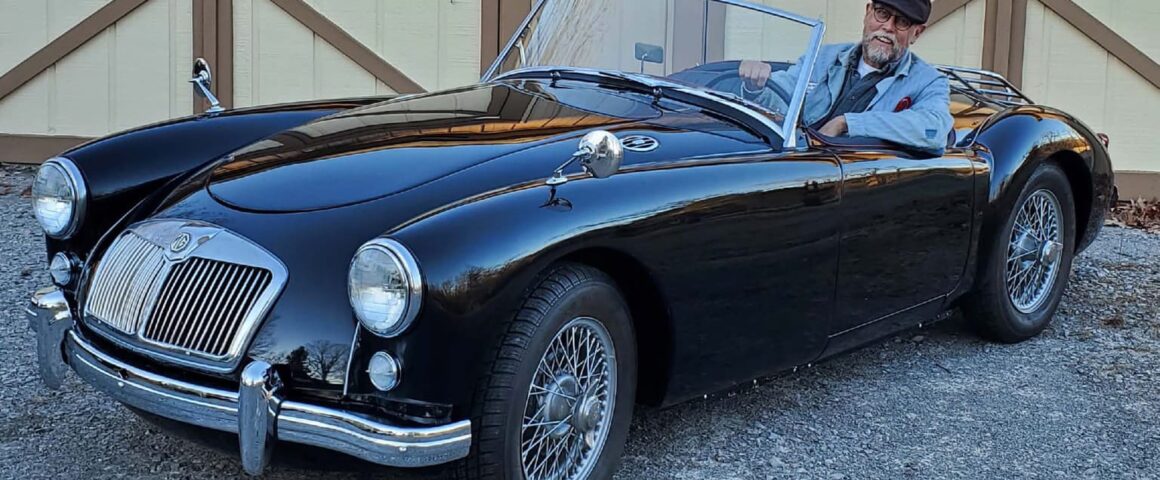
Fit and finish. Fit and finish. Over the past winter months those two words kept rattling around in my head like marbles in a fruit jar since the MGA had gotten itself a fresh coat of Tuxedo Black paint. “Pshaw, to concours standards,” I thought as I stood in the cold garage pensively pondering the Herculean tasks that lay ahead. “Who needs that much stress in their lives?” Besides, with my backyard body-man bent, I believed my black-on-black roadster would at least become a solid ten-footer. With that presumption in mind, I set to work fitting and finishing, all the while throwing fits of my own.
Take the paint job for instance. “Unsettling” describes sanding a perfectly good base coat/clear coat paint job, but wet sand I did. Then a cheap buffer and some compound took out the 1500-grit scratches. Finally, a thinner polish to spatter over everything within a twenty-foot radius buffed out the compound’s even finer scratches. Boy, did it finish the paint job, and except for those edges around the headlights, doors, fenders, boot, and bonnet where the paint got buffed till the primer showed, providing me with the first of many fits to come, the old car really sparkled. I could even see my handsome reflection in almost all of its glassy surface.
With the paint work glistening at ten paces, the time had arrived for my loving wife, Susan, to help me fit the boot lid to the body. Although the attached luggage rack added untold extra pounds to hold while bolting it in, we got the job done. Once connected, it wouldn’t latch, and with a “thunk” it would bind on the back of the tonneau panel, chipping off paint every time it opened.
Fits!! … No problem. An adjustment at the deadlock and a little friendly persuasion with my trusty pry bar soon solved those annoyances. Then it was on to the bonnet.
The fastening went smoothly, although Susan’s fingers got tired being wedged between the lid and hood surround in order to keep it from rubbing on the edges where the primer showed. In spite of the bonnet closing nicely, it would pop open at any provocation. Well, I sure didn’t want that to happen while tooling down some back country road’s hairpin turns.
Fits!! … No problem. Three hours later, and after making as many adjustments in as many ways as there are lottery number combinations, Lady Luck smiled on me. The lid closed, and more importantly, opened. Now, it was off to the doors.
Naturally, Barney Gaylord the MGA Guru suggested always starting the reassembly of the vehicle with the doors and work outwards, but as I had so often done in the past, I scoffed at that suggestion and merely went my own way. I had already mounted the wings and rear fenders with the piping smoothly ensconced, except for a few bumps in the road here and there. Unfortunately, the doors wouldn’t close without chipping off whatever paint remained after the buffing.
Fits!! … No problem. I’ll just pull the right wing back from the A pillar in order to close the door. Barney’s earlier advice, however, would have saved me the extra few hours of lying on my back in the cat litter that was scattered across the floor in a feeble attempt to absorb an oil spill while I loosened wings, rear fenders, removed splash plates, and pried out the piping.
While yanking on the front fender, a mere slip of the hand caused me to grasp the side-view mirror, thereby ripping its sheet metal screws out of the wing and leaving a gouge in the fresh paint.
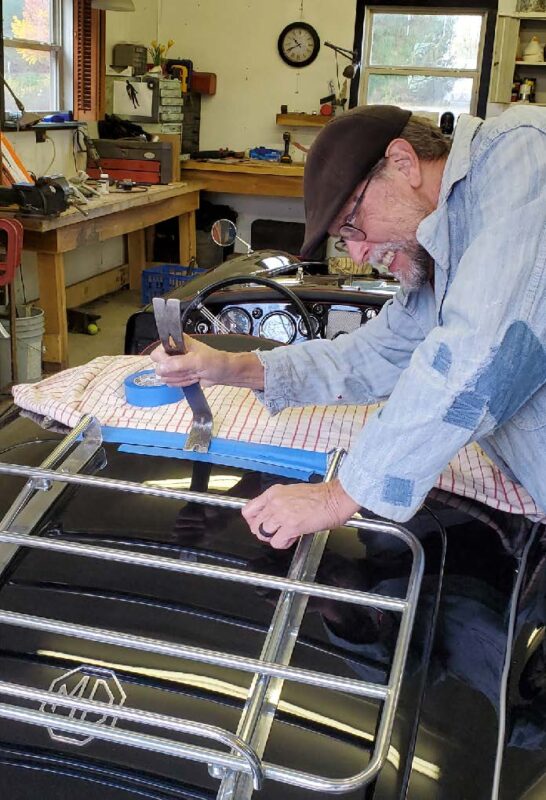

Fits!! … No problem. A couple doses of touch-up paint and clear coat, followed by more sanding, buffing, and polishing cured that ailment. You have to look closely now to see where the deep canyon once graced the fender. Besides, from ten feet it disappears completely.
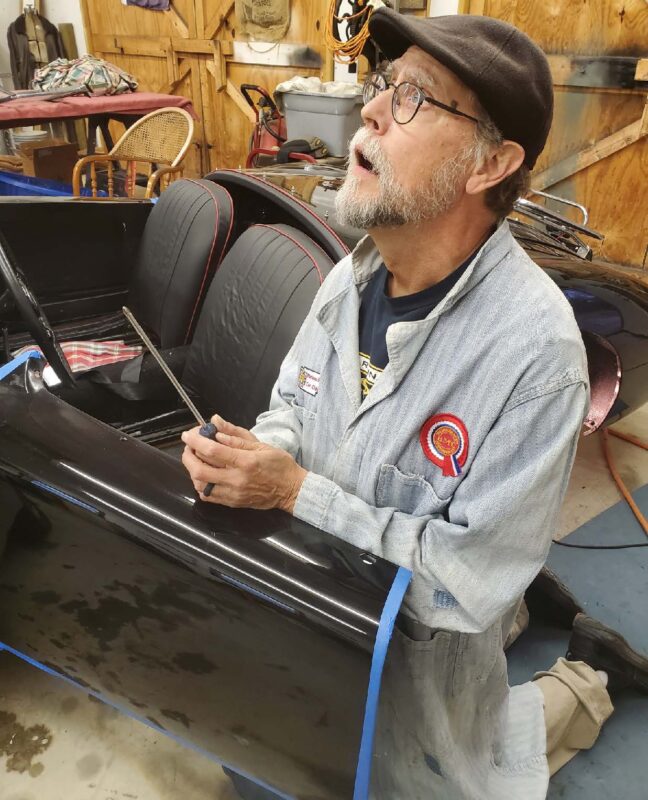
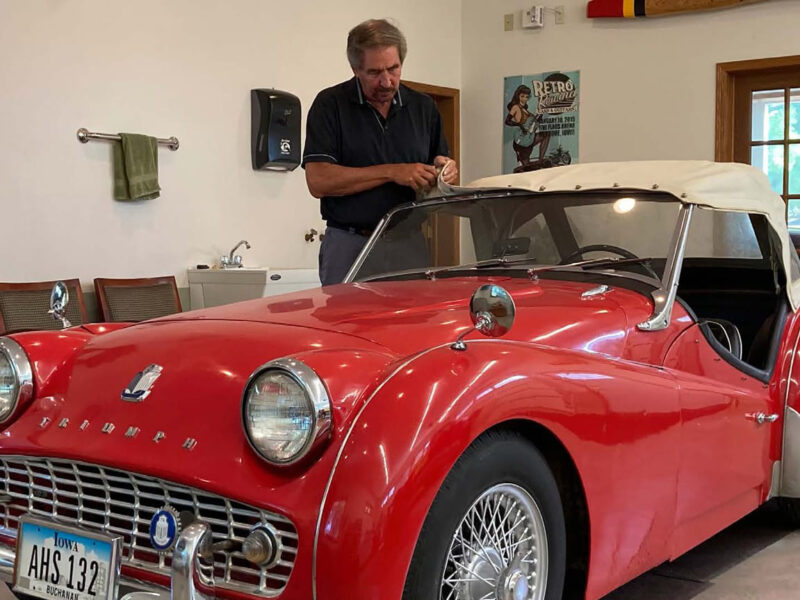
You can also see from the lead photo, which my lovely wife so graciously snapped in one of my more reflective moments, the mounting and latching of the doors, a three-week affair, even with the help of my mentor Ted who always encouraged me with his sage advice (“Solve one problem at a time”), had me looking skyward in the hopes that the MG gods would pity me.
Fits!! … No problem. A couple dozen homemade shims coaxed the doors to close and finally latch without chipping off what was left of the paint.
With the fenders screwed back in place and with the piping thankfully not resembling a Dollywood roller coaster, hundreds of other MG components that had languished around the property for years screamed out from the attic, the closet, the shed, under the bed, and the sock drawer their yearning to be unboxed, unhidden, dusted off, and fit into place.
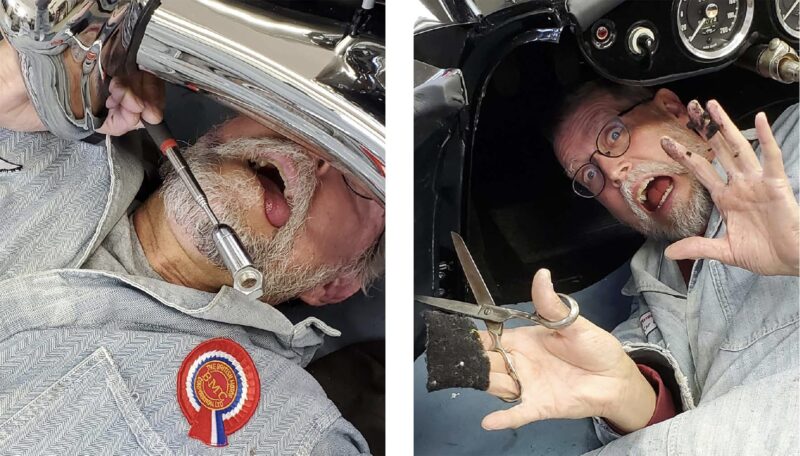
Once collected, the rear bumper, grille, valance, and front bumper stood impatiently awaiting their turn in line. With the help of my make-the-holes-bigger metal grinding tool, which came in handy where every bolt hole was concerned, I was able to fit the rear bumper brackets to the bumper extensions while quickly learning I needed the fingers of a child and a prehensile tail to get those tricky nuts in place.
Fits!! … No problem. A handy magnetic end on an extendable rod swept in like Batman to the rescue before the bumper lodged my fingers in place where they would have to be amputated by my son-in-law surgeon in order to free my hands. The task ended well with the rear bumper gleaming brightly in place.
Grille and valance garner barely a footnote in their ease of installation with only short blind dates with a set of pliers. The front bumper, however, needed a firm scolding due to illicit kisses with other bumpers in its younger days.
Fits!! … No problem. You know what they say in the body shop. “If it doesn’t fit, get a bigger hammer.” Well, a little quality time with a three-pound sledge definitely persuaded the main spring brackets that it was in their best interest to attach to the front bumper assembly. However, even after our heart-to-heart talk with the judge’s gavel, the bumper still sits a little cattywampus, looking like a mischievous smirk, but you would never know it from three meters.
The windscreen, which gave me fits when replacing the glass years ago, caused no real concerns. Later fits will undoubtedly send me back to therapy after I hit a pothole and crack the glass from corner to corner.
Fitting the cockpit rails certainly presented a problem, but who doesn’t love a challenge? Obstacles give us golden opportunities to practice patience and/or expletives. All went well with few verbal digressions till the rear corner rails obstinately refused to conform.
Fits!! … No problem. Detach the back rail, un-staple the leather covering and red piping, cut off some wood on either end—then cut three or four more times—and re-staple. No problem.
Carpet, which came next in completing the fit and finish, sent me to the local pharmacist for heart pressure medication. Fit and cut. Cut and fit. Ad nauseam. When satisfied, spray liberally with adhesive and attempt to put in place, without getting glue on every earlier piece of laid carpet or getting bits of carpet and pile growing on fingers and palms like some werewolf changeling under a full moon.
Fits!! … No problem. A little bit of high-powered paint reducer easily removed whatever goo had been inadvertently applied to flesh and carpeted areas as well as any extra dye the manufacturer may have put in the short nap fibers.
Door, kick, and frame panels had me popping heart meds like Peanut M&M’s. The first palpitation involved drill bits snapping like twigs and getting stuck in the sheet metal while I was contorted under the dash attempting to attach kick panels. A second arrhythmia occurred when the door panel had grown an extra 1/4 inch while it pined away in its shipping container.
Fits!! … No problem. The first solution sent me to Lowe’s for every 7/64th drill bit they had. They had eight. Another solution appeared when I discovered if I was cagey enough, I could use some of the same factory drilled holes.
All the door panel needed was to peel the material away from the thin plywood, cut off a 1/4 inch with the Dremel, spray liberally with adhesive, (being sure to get layers of it on my fingers), and reattach the Naugahyde.
Needless to say, many more fits echoed in the garage during the fit and finish, but as far as I’m concerned, for now, I’m finished. No more fits, except for the top, tonneau cover, and side curtains, and, of course, the “finishing strip.” But they’ll have to wait till summer after my heart condition stabilizes.



'Fit and Finish' has no comments
Be the first to comment this post!