In the last issue of Moss Motoring, I described how to set the chassis part of your six cylinder, big Healey V throttle linkage. So now let’s turn to the adjustment of the engine portion. In checking the following adjustments, make sure dial tile throttles are not held open by the choke or idle adjustment screws. If in doubt, see your shop manual for the correct location. Remember, the idle adjustment screws are used for adjustment on some carb models and are used only for fast idle, under choke conditions, on some others.
The HD6 and HDB carburetors have separate air bleed screws for idling, and these carbs must have a bit of clearance between the fast idle screw and the tang on the linkage for the linkage to be adjusted correctly. For the 114 carbs, you will need to re-synchronize these after the linkage is adjusted. Let’s face it, it’s probably a good idea to check re-synchronization on any of our cars after you’ve fiddled with the linkage! If your car was idling on the linkage instead of the air bleeds, you will understand after you start it up where synchronization may be necessary.
So, let’s start with the TD-S1 and early 3000 114 and HD6 set-ups. Referring to Fig. 3.19, slacken the pinch bolt on levers A and B, set the lever B at approximately 45 degrees as shown, and re-tighten ITS pinch bolt. If you need to, adjust the length of rod C so as to bring lever A parallel with the lever B. With the pinch bolt at lever A still slack-press the rod D downwards one-eighth of an inch to tension the pedal return spring slightly. Then re-tighten the pinch bolt on lever A.
For you Tri-Carb people,please refer to pages 44-45, item 60 in the Moss Motors Austin Healey catalog—Accelerator Spindle Assembly. For you BJ7 and BJ8 owners, please refer to pages 46 and 47, item 73, for a similar assembly. The linkage connection lever (next to the fire wall when mounted on the car) on these rods must be over center by a few degrees in the clockwise direction. How much, you may ask? Let’s say the lever on the rod is like the hour hand on a clock. The lever should point to the approximate 12:30 position for the tri-carbs and the 2 o’clock position for IIJ7 and BJ8 when at rest. That’s how I’ve got my BN7and IIJK set up and shows that there is a range of settings within which you can get this adjustment right! After you have performed the full throttle test and adjustment in the next paragraph, your linkage should be adjusted to give you full throttle when you put the pedal to the floor!
It’s time for the full throttle test, and this test and adjustment pertains to all six cylinder models. Push the accelerator pedal to the floor carefully and check the travel of lever K. This must be such that the lever is at least 20 degrees short of the vertical position when full throttle condition is reached on the carburetors. If yon feel resistance pushing the pedal to the floor, don’t force it! Instead, carry on and make the following adjustment. To achieve this, adjust the length of rod D. The full throttle condition noted is when the tangs on the carburetor throttle shafts just contact the carburetor throttle body.
If, after all the above adjustments, you still don’t get full throttle, it’s possible there may be too much “play” in the linkage. Worn cross-shaft bushings, loose or broken relay lever pinch bolts, a perished or missing firewall throttle hushing, and/or a broken or worn relay shaft nylon bracket on late model Healeys can all contribute to excessive “play” and lost motion in the throttle linkage. All the adjustments in the world can’t make up for the slack introduced by these other parts if they arc not in tip-top shape. That’s why it’s important when restoring a Healey that you check and replace, if necessary, all these things before you put the engine in the car. It’s so much easier that way!
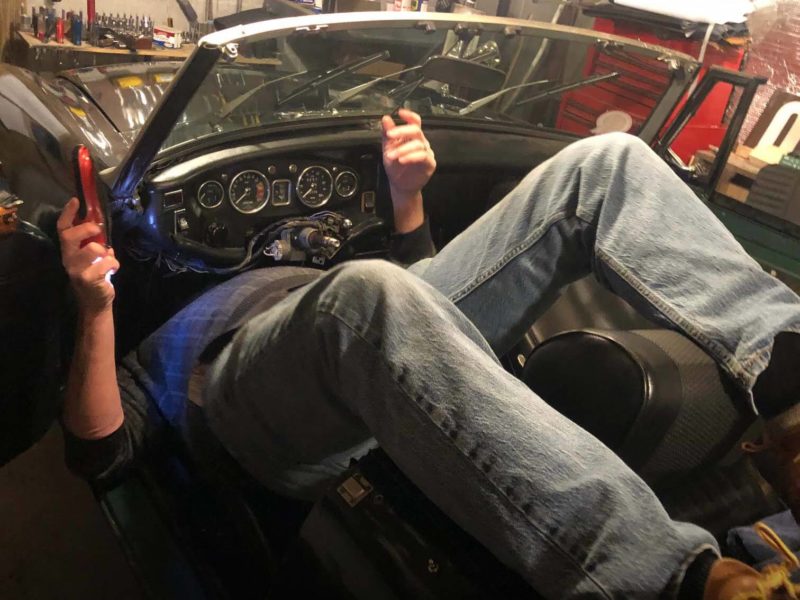
Oh well, my best buddy Bob, who prompted this feature, will perhaps have learned his lesson the hard way and possibly next time he’ll remember the pain! One last word—If you have an overdrive car, you may have to adjust the throttle switch after adjusting the linkage. It’s important to do this as it can dramatically lengthen the life of your overdrive by allowing it to change out under power, instead of during coasting. It’s almost a certainty you will need to do this and the factory shop manual accurately describes how to do this, so I’ll refer y’all to it! I hope this advice has helped you get more out of your big Healey and once the throttle is adjusted correctly, why not take it for a drive? You might he surprised at the added power the old beastie has! Bob, of course, will have to put the seals in his car first!


'The Nut Behind the Wheel: Winter 1999' has no comments
Be the first to comment this post!