It took three “Pint Projects”:
Rear Brake Disassembly
Rear Brake Reassembly
Front Caliper Rebuild
…but now all four wheels have as-new brakes!
Not so fast. What about the other stuff?
Brake boosters may need some attention, and a brand new one will almost certainly improve braking. Some styles of booster can be rebuilt at home, but a new unit, or at least one that has been professionally overhauled is probably best. Brake rotors often need changing due to wear or warping, and replacements are fairly cheap.
Of course, no brake job is complete until the master cylinder has been taken care of. Unless you are a glutton for punishment, a brand spanking new one is the way to go. If you chose to recycle, repair kits are available for next to nothing. Just be sure that the cylinder bore is smooth and rust free. Pay careful attention to the surface at the end of the bore that seals off the reservoir. A leak here will cause some of the fluid to escape when the brakes are applied. Press on the pedal and watch the level in the reservoir to identify this potential problem.
A car that has been sitting for a long time will probably have serious pitting in the cylinder bore, while the cylinder from a runner will be the best candidate for rebuilding. Follow the same procedure as with wheel cylinders, although you will find that master cylinders are more complicated. You might want to look in the repair manual before getting too carried away! After reassembling the master cylinder, blow into the reservoir or reservoir line to be sure that the passage to the master cylinder bore is open when the piston is “at rest”. Press the piston into the bore slightly, and the passage should be sealed off. You may be able to plug the brake line orifice with a spare bleed screw and test the cylinder’s ability to hold pressure. This is pretty easy if the reservoir is attached and you are able to get brake fluid into the bore.
Speaking of brake fluid, let’s talk about Castrol LMA verses Silicone. These are the only fluids that this writer recommends, so don’t you dare use anything else! Most conventional brake fluids are nearly clear, while Silicone fluids are often purple or some other queer color. If you are not sure of what is in your system, add a few drops of the fluid to an ounce of water. For you metric system guys, that is about a shot glass full. The conventional fluid will disappear, while the Silicone will not mix. As you know, conventional DOT4 brake fluid is cheap and is also an excellent paint remover.
If you are using Silicone, watch the knucklehead at the state inspection station, because he will surely top you up with some brand-X fluid. Rumor has it that mixing the two will cause instant brake failure and necessitate a complete rebuild! This may be hard to believe, but I certainly would not chance it. For this reason, don’t switch from one to the other except when completely overhauling the entire system.
If you are not worried about getting brake fluid onto the car’s painted surfaces then there is no reason to use anything but the Castrol product. The price of a container of Silicone brake fluid is several times that of regular fluid, but there is the advantage of saving your fancy new paint job. The major disadvantage of Silicone is that air dissolves quite easily into it, giving it a spongy feel. This can be avoided by not using the traditional “pump the brake pedal to bleed the brakes” procedure. I found however, that a trip to Leadville, Colorado (elevation 10,152) will remove excess air from a system using Silicone fluid. If this is not convenient, use an alternative method to bleed the brakes.
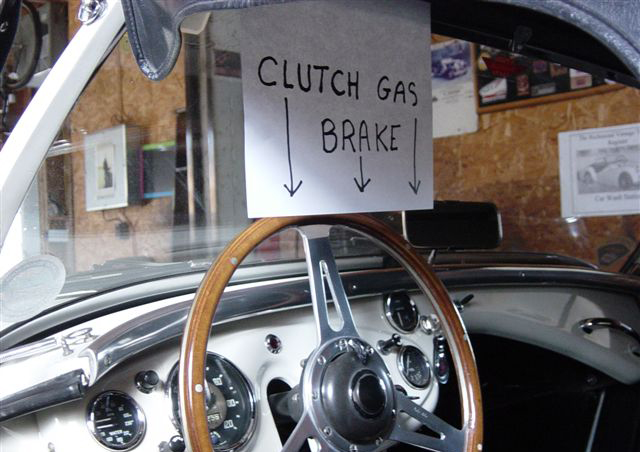
 The tried and true method of bleeding the brakes requires an assistant that can distinguish the brake pedal from the clutch pedal and follow simple instructions without argument. This eliminates the possibility of help from your spouse, so buy some more beer and give your best buddy a call.
Start with a full reservoir, and then gently tap the brake pedal to coax as much air out of the master cylinder and into the reservoir as possible. Next, go to the furthest wheel and loosen the bleeder screw after placing a clear length of vinyl tubing over the end. Put the other end of the tube into a suitable container. Wrapping the threads of the screw with Teflon tape will keep the air from passing into the cylinder around the bleeder. Have your buddy press the brake pedal to the floor when you open the screw half a turn. Close the screw while the pedal is down, and then have him let the pedal up. Do this until no bubbles appear in the fluid, or until at least two ounces of fluid come out. Check the fluid level often. Follow this procedure on the other wheels. When all four wheels are bled, check the pedal for firmness. If the brakes are mushy, repeat the bleeding process. Since you have the rear brakes adjusted up tight, the pedal should have very little play. If satisfied, adjust the rear brake drums so that they just barely drag.
If you are like me and don’t have any friends, there are a couple of other ways to bleed the brakes that don’t require anyone to pump the pedal. Kits are available with special caps to pressurize the master cylinder, forcing fluid out at the wheels as you open the screws. This works pretty good, but my favorite method is using the Mighty-Vac to suck the fluid out at the wheel cylinders. This is the recommended way to bleed the system when using Silicone fluid. When you are satisfied that all the air is out of the system, wipe off excess fluid, replace the caps on the bleeder screws and go for a test drive! When you get back, stick your head under the car and check for leaks. If all is well, sit down and finish that six-pack. Otherwise, do the same steps over again!
By Mike McPhail


'Pint Size Project — Bleeding the Brakes' have 6 comments
October 8, 2012 @ 4:50 pm bob weber
Bleeding brakes … what about the red light on the dash? What about the pressure switch? I have a 1974 MGB. Thank you. -Bob
October 11, 2012 @ 9:26 am Dean Parks
Good article! However I must say my wife is quite good at helping me bleed the brakes on my TR6. My mom used to help me too when I was living at home years ago. Good thing the TR was on jackstands or she would never have been able to climb out!
November 20, 2021 @ 8:27 pm Mary Cima
Dean Parks,
On behalf of females, female spouses and/or female OWNERS of MGBs: THANK YOU!!
January 27, 2013 @ 8:35 am Felix Diaz
Hello;
What about the pressure switch?
Thanks in advance.
April 20, 2019 @ 7:51 pm Keene Lanzer
Yeah I had a neighbor help me once and he was pushing on the gas pedal. Good thing the Stromberg’s don’t have accelerator pumps. Yep, still have that intermittent squishy brake pedal.
July 15, 2024 @ 10:33 pm Myroslav Petriw
I could not bleed air from a new unused large cap M/C. Ordered another one and this time I was successfull (bench bleeding was not the key to my success). This second M/C had a small square hole in the wall between the front reservoir and the rear, a reservoir which is barely accessible for top up! This kept the rear reservoir filled whenever I topped up the main one. My previous reservoir did not have this hole and would have required very careful top up of the rear reservoir through the sliver of a gap behind the abovementioned wall. Not doing this ensured a constant supply of air while bleeding! This could be a prime cause for return of “non-defective” Master Cylinders!
Cheers, ex-FoMoCo Service Engineer