


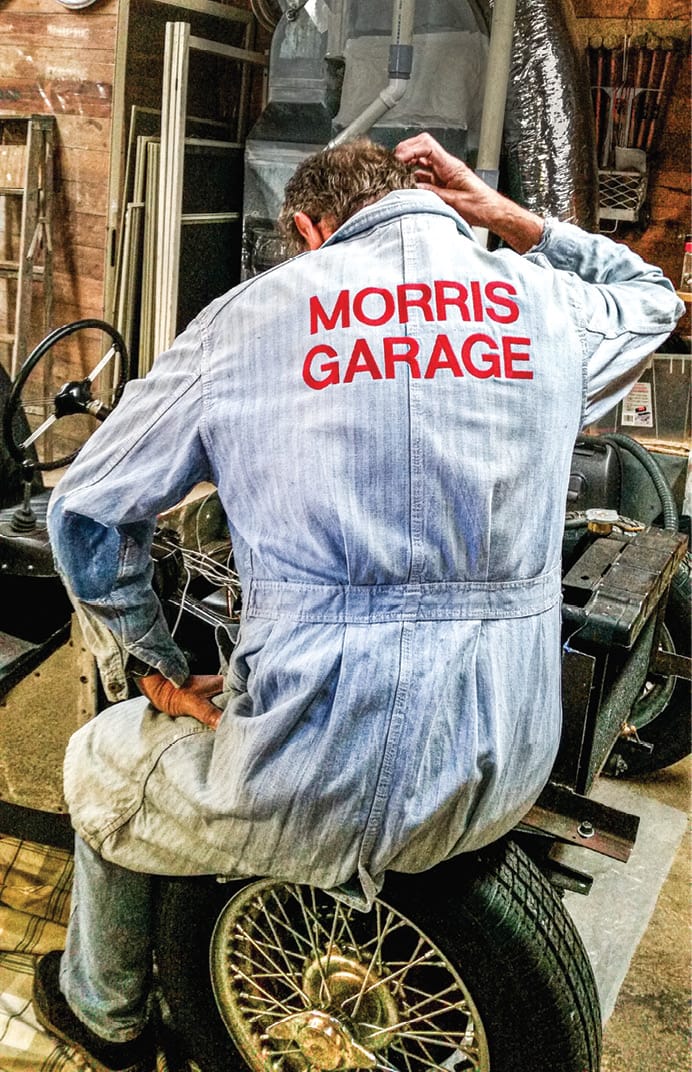
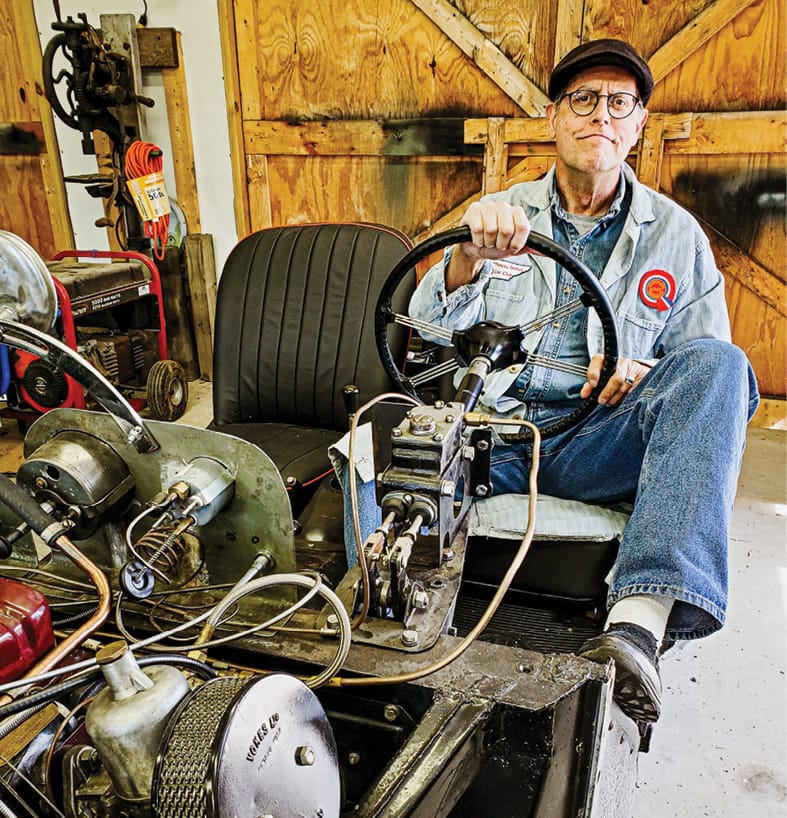
By Ned Serleth
This little tech article is for all you backyard mechanics who work as wholeheartedly as Ted, my friend and mentor. Unfortunately, so much of my own work, which I attempted before I found Ted, the Dalai Lama of MGA reconstructive surgery, caused me to suffer untold hours of labor that would have otherwise been accomplished in three shakes of a lamb’s tail. This narrative’s purpose is to save you those anguishing hours of head scratching and the resulting hair loss.
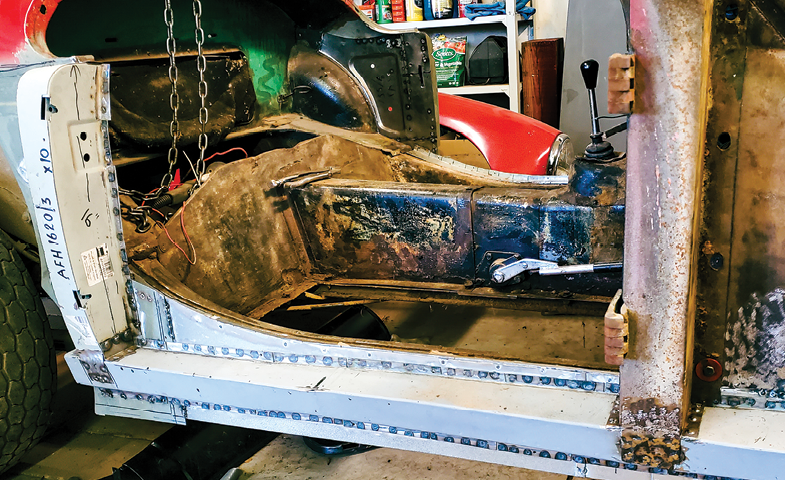
The first “do” and “don’t” for you MGA aficionados relates to securing the body before lifting it from the frame. When securing the front to the rear cockpit area so the body doesn’t fold like an accordion, “do” be sure to use strong metal braces. That way the body comes off neatly in one solid piece. Since the B-pillar is probably rotted through like last year’s butternut squash, lifting the body without those braces being securely attached means you’ll soon have two pieces of MGA rather than the anticipated one. Having two pieces is not twice as nice. Twice as complicated? Yeah.
A second “do” and “don’t” comes while lifting the body, either in one piece, or two. Be sure to remove those SU carburetors. “Don’t” try to lift the body from the frame with the carburetors still attached. You’ll find SU means Screwed Up. Even if you are doing a no expense spared restoration, a new set of carbs will set you back a half week’s wages, unless, of course, you’re a teacher. Then you’re looking at half a month’s time with children who don’t want to buy what you’re selling.
Another “do” and “don’t” involves attempting to get the vehicle running without the body. Naturally, you’ll want to run a few wires to specific locations in order to start and test drive the chassis with its unattached seats, steering wheel, and batteries. I presume you’ll have two of those six-volt batteries because you want to make sure the car is as original as possible. Trust me on this one, “do not,” when using positive ground—or positive earth if you want to be authentic about the language you’re using on your British roadster—I repeat, “do not” attach the negative battery terminal to the other negative battery terminal and both positive terminals to the frame, especially if your fire extinguisher is past its expiration date.
Okay, so the batteries are set up correctly and you’ve got substandard wiring running from the voltage regulator to the fuse box, starter, generator, and distributor. You’ve also got a jury-rigged ignition and the second new fuel pump, since the first was toasted when you connected both positive terminals to the frame. Now’s the time to turn the switch, pull the starter, and wonder why the wires are beginning to smoke and melt the outer plastic insulation. At this point you’ll turn off the switch in a hurry.
“Do” recheck your wiring diagram and try again. After a few tries, and if the wires still smoke, there’s one last place to check: the second new fuel pump. It is not prudent to ground both the regulator-to-pump wire and the ground wire from the pump. “Don’t” “do” that! After you’ve attached the wire from the regulator to the pump itself, try the switch again. You should have clean ignition.
Of course clean ignition doesn’t mean the car will run well. It may cough and sputter, which probably indicates the timing is off. Now is your opportunity to check the distributor and make sure your plug wires are snuggly on their respective plugs.
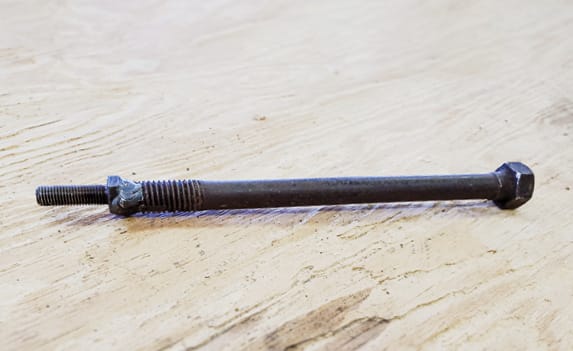
Once satisfied with that outcome, it is now time to remove the distributor and fiddle with the distributor drive spindle. “Do,” according to Barney Gaylord, the MGA Guru, “screw one of the tappet cover bolts into the threaded end of the distributor drive gear,” whatever that means. Or, use a 5/16″ bolt to screw into the head of the spindle before attempting to remove it. “Don’t” just jam a screwdriver into the head and endeavor to pull it free. Chances are pretty good, and I should know, that it will come off the screwdriver and fall with a clink into the oil pan.
Let’s just say for the sake of argument your distributor drive spindle is now resting in a bath of 10-30 weight at the bottom of the oil pan. Be sure to thank your lucky stars it’s in the pan and not jammed up somewhere in the bottom end of the motor. Naturally, the pan must be removed, an easy job, except for the three bolts at the front of the pan that are playing hide-and-goseek with the frame.
The job now is to pull out the trusty engine hoist and lift the motor a bit after removing all the motor mount bolts. I hope you enjoy hide-and-seek. The motor mount bolts like to play that game, too.
Lift the motor but “do” put a basin under the end of the transmission to catch any oil as the engine is being raised. If you “don’t,” you will soon be moisturizing your back in some of that 10-30 while you’re under the vehicle attempting to loosen all the pan bolts. It goes without saying (does it though?) that you remembered to drain the oil from the pan before beginning to remove the pan itself.
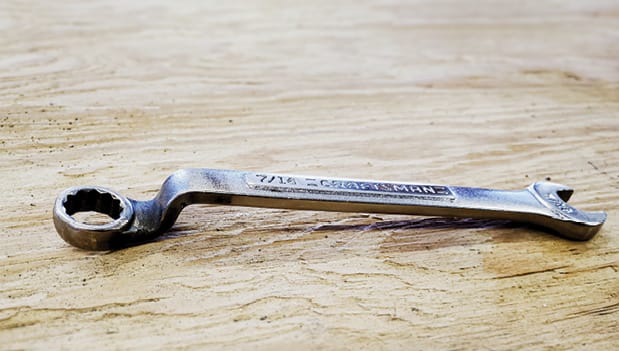
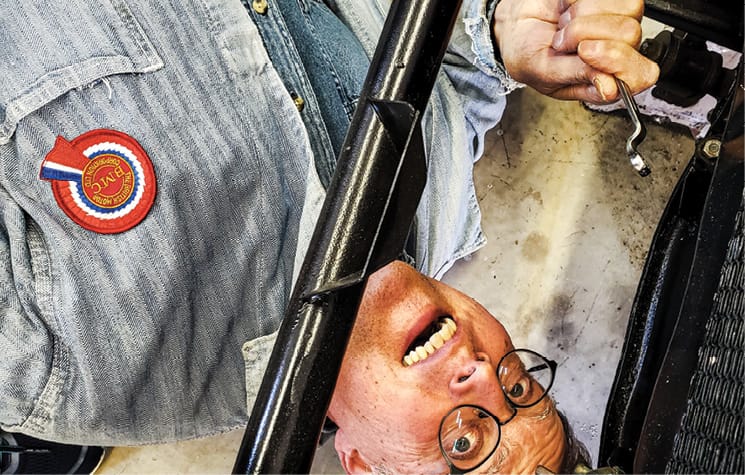
Now for those pesky three bolts that defy you to find and loosen them. Try as you might, the 7/16″ wrench with which you’re striving to coax them from their homes won’t quite fit. Tip of the day: get out your trusty torch and “do” put a bend in the box end. Now you can reach those little rascals while moisturizing your back. One last word of caution: “don’t” let the box end slip off the bolt head and out of your oil-covered finger tips where it will land on your front tooth, chipping it into a serrated edge.

Once you’ve extracted the spindle from the bottom of the pan, “do” order a new gasket from Moss Motors and get yourself a beer or two. Your part will arrive within the week.
Great! The pan is back on, the spindle is in place, the distributor reinstalled, and you’re ready to fire up the engine. If it still coughs and sputters, you’ll probably need to realign the spindle. There’s a chance you’re off 180 degrees. Remove the distributor and the spindle, “do” use that 5/16″ bolt you’ve welded a little cockeyed onto a long rod.
Another “do”—rotate the motor so that it rests about seven degrees below top dead center. You’ll want some white enamel paint to locate the timing marks. They’re hard to see while you’re on your back in that pool of 10-30 weight you spilled out of the pan because you didn’t drain the oil prior to removal, like I suggested.
After a few dozen attempts to realign the spindle with the cam gear, you’ll find you need to look carefully at the notches in the spindle. “Do” make sure the larger off-set slot in the end is facing up when you start to insert the spindle. Again, according to the MGA Guru: “As the gear engages with the camshaft, the slot will turn in an anti-clockwise direction until it is approximately in the one o’clock position.” “Don’t” face the notches towards any other hour on a clock, or you will spend a lot of extra time lying in oil, lining up those pesky timing marks, and removing the distributor and spindle numerous times while trying to start a coughing and sputtering car.
Some days later, after you have successfully aligned the spindle according to the timing marks, and all the wiring has been properly attached, it is time once again to attempt to start the car. This time you feel confident. You’ve even installed the drive shaft in anticipation of a run around the yard in your go-kart on steroids.
A final do. “Do” disengage the transmission. “Do not” leave it in gear after starting the car successfully, only to have it launch itself into your rolling tool box, thereby denting it so the drawers don’t work—and also denting the car’s original radiator, though thankfully still usable.
Indeed, if you follow these sage instructions, you will be able to enjoy that ride around the yard and will look forward to reassembling the body to the frame after you have painted it in the carport. And, as all backyard car hobbyists know, “Do” be sure to paint early in the morning before the carport becomes a wind tunnel.


'Some Dos & Dont’s (but mostly don’ts)' has no comments
Be the first to comment this post!